How to measure a Cable Harness with Hi-Pot Cable Harness Testers | Dielectric Withstand Testing / Insulation Resistance Testing
Text and Images for Operation of Hi-Pot Cable Harness Testers
Test Spec
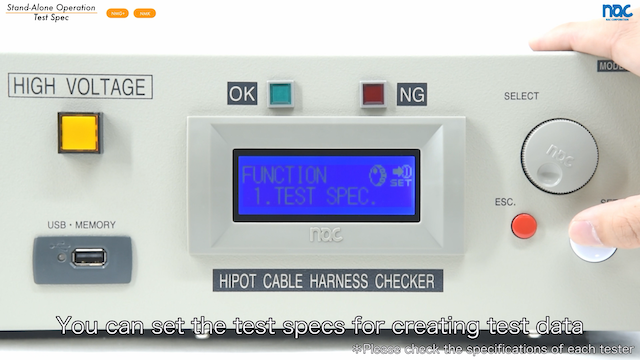
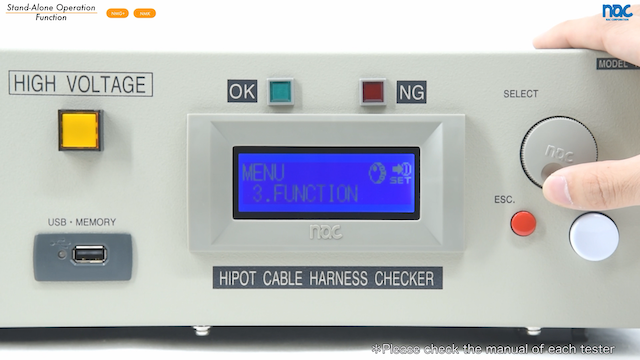
This is a harness tester NMG+. The operation of NMK is the same as that of NMG+. Please turn on it. MENU is displayed. Let's set the test spec. Please select No.3 function to set the test spec. You can set the test specs for creating test data. You can finish the settings after you select all specs with the set button. If you quit it in the middle with the escape button, it will not be reflected.
Test Connectors
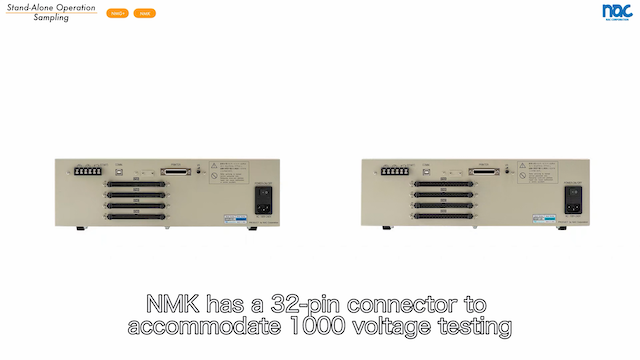
NMG+ and NMK have different tester connectors. NMK has a 32-pin connector to accommodate 1000V voltage testing.
Sampling
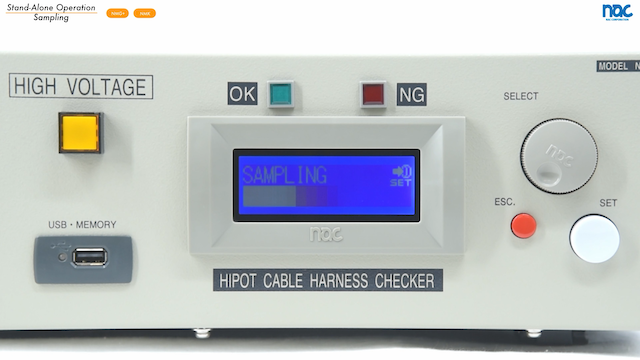
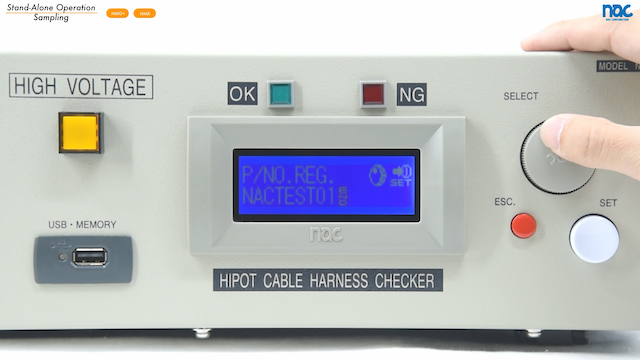
Let's create test data. The operation is common to these models. Please select No.2, Sampling. Sampling is the function to read the wiring of the test target and create test data by combining it with the test spec you set. Please connect test target to the tester and press set button to read the wiring.
Test
Let’s test with the new data. Please choose the No.1 Test, on the menu. You can see the data memorized in the device. Start the test to press the set button. If the test passes, it shows OK.
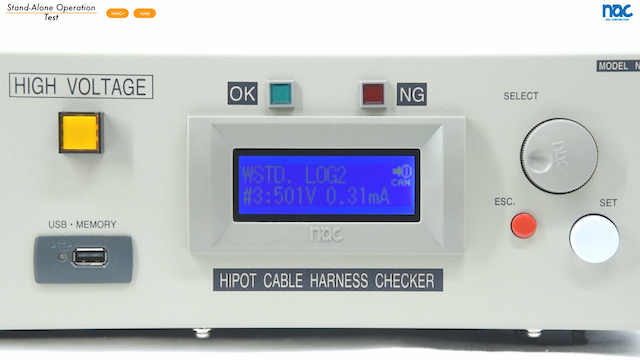 *During Dielectric Withstand Testing
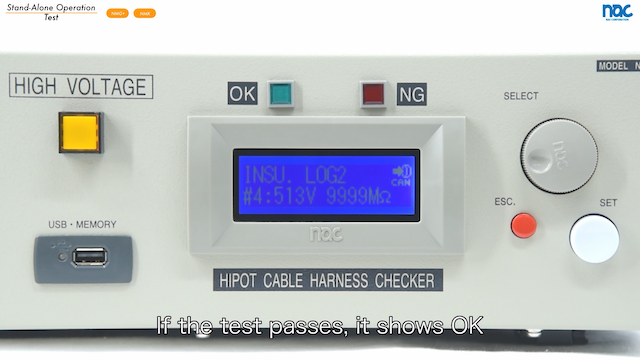 *During Insulation Resistance Testing
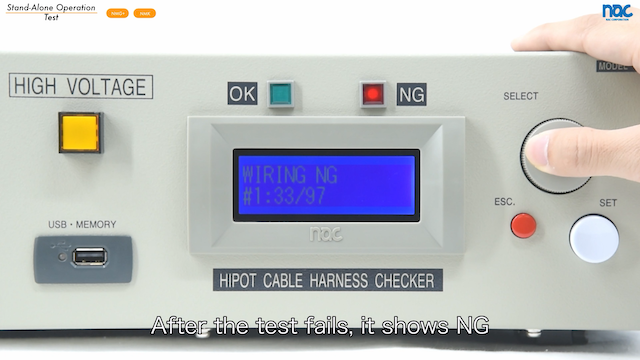 *NG in Wiring Testing by OPEN
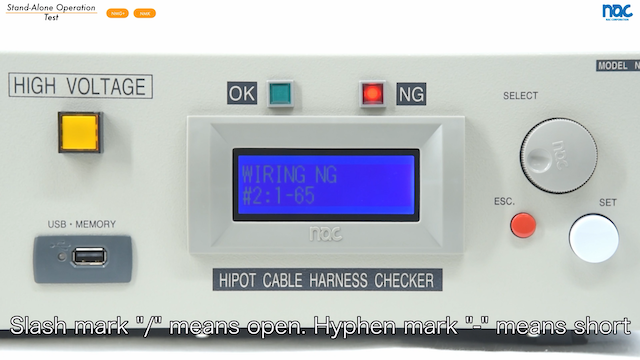 *NG in Wiring Testing by SHORT
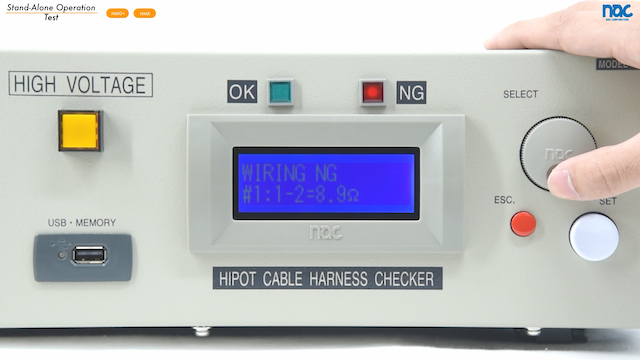 *NG in Resistance Testing
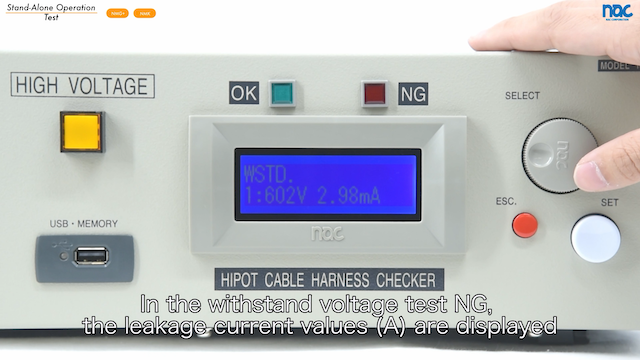 *NG in Dielectric Withstand Testing by Leakage Current
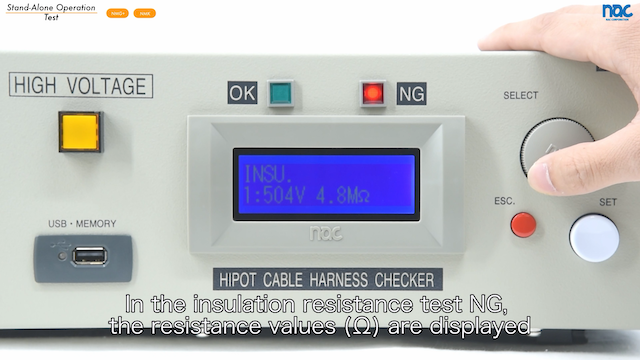 *NG in Insulation Resistance Testing by Insulation Value
Test:Start Mode
While the machine showing test start, you can change the start mode by turning the dial clockwise. You can choose Manual, OK wait, After 1 to 10 seconds start. In particular, OK wait is useful function to conduct the same test consecutively. After the test starts by set button and finished with OK,You can start the test by only connecting the new cable. This function helps you test data quickly.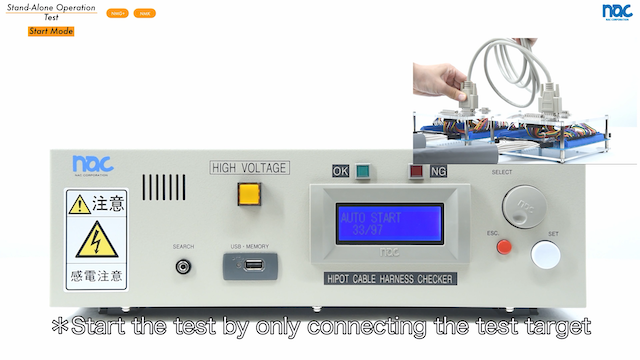
Test:Spec Change
After creating test data, you may need to modify the data. Then please select the data from ”test”. Please turn the dial counterclockwise while the tester showing the test start. You can open Spec change mode. Please set the spec again. You can finish the settings after you select all specs with the set button.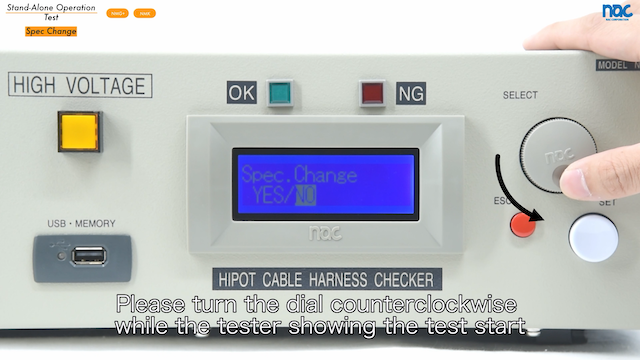
Test:Moment Disconnection Testing
If you conduct the Moment Disconnection Testing, You need to add the impacts by hitting or pulling. As an example, let's test in the mode monitoring the disconnection until the set button is pressed. After applying the specified impact, press the set button. If no disconnection occurs, OK is displayed. If a disconnection is detected, NG is displayed.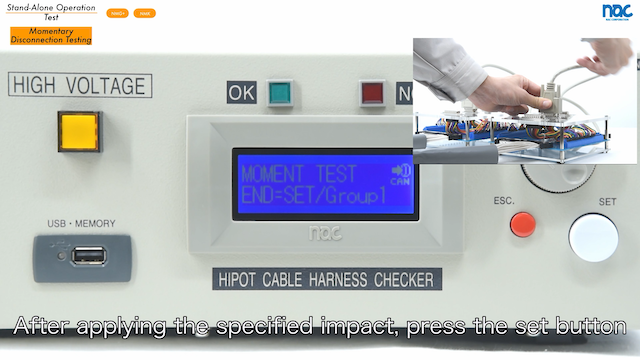
Search
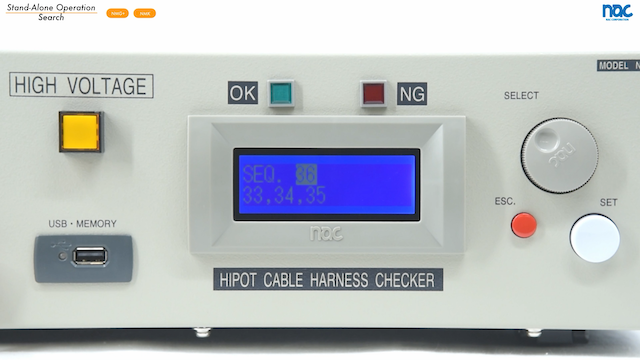
Search is the function to check or test the connection by touching with the probe. SCAN is for just checking the pin you touch with the probe. TEST is for the test with search test data. Let's check SCAN. There are two modes, HOLD and UNHOLD. You can choose whether or not to keep the last pin touched on the display. It's useful for checking the continuity of jigs and so on.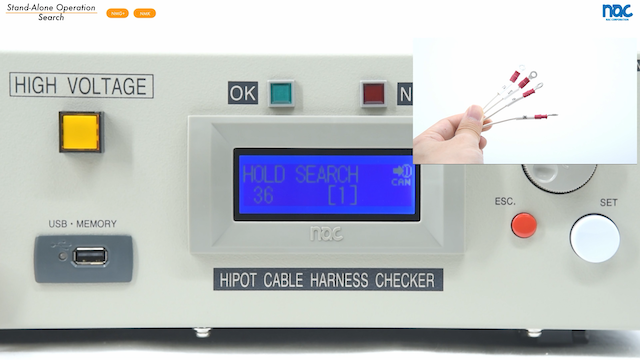
Function
Let's check the function. You can set Start mode at Function 2. You can set Printer setting at Function 3. You can set the OK-sound and NG-sound at Function 4 It makes it easier to distinguish when two or more inspectors are working next to each other. You can select the language at Function 5 You can set the date at function 6 You can select the terminal display mode at function 7. You can set the output for the impactor at function 8. Please contact us about PLC operation.This is available by customization.
Self-Check
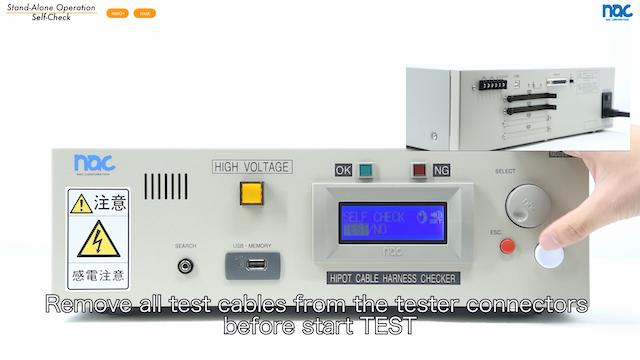
Self check is the function to check the tester itself. Please conduct test for the daily check. Remove the all test cables from the tester connectors before click TEST. It shows "pass".The tester is normal. If NG occurs, please check your environments. Please contact us in case of tester failure.
- Product Search
- Inspection Spec
- Category
- Options
- Discontinued Product
- All Products


